
Prep Done Right. Cuts
Are Sharp. Results Last.
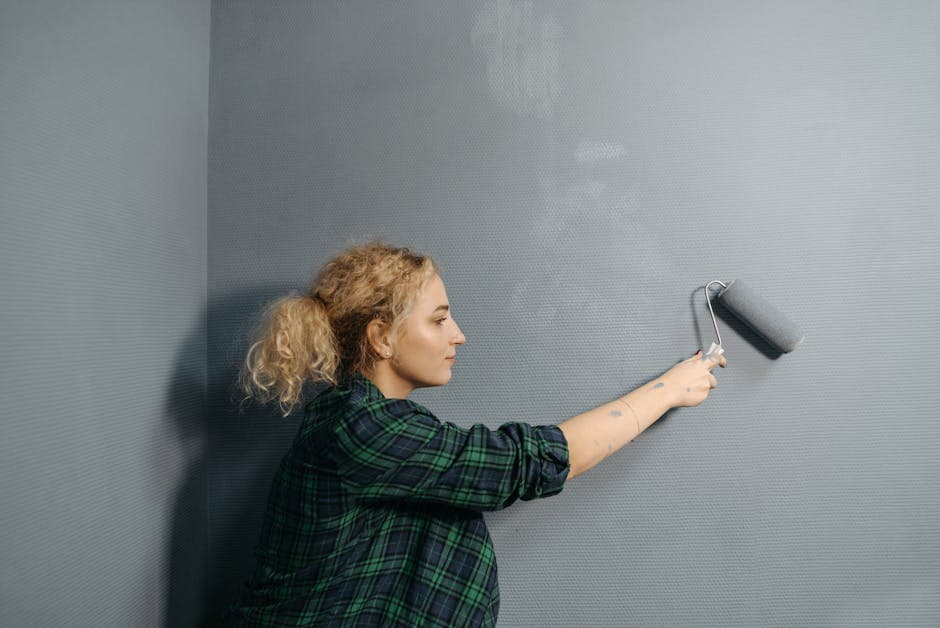
Interior painting is 80% prep, 20% paint — and the painters who skip prep show every flaw on the wall. RO sands, fills, primes, and tapes properly before any color goes on. The result is sharp lines at every edge, no roller marks, no missed spots, and a finish that holds up for years.
Interior Painting
Guide
What It Is
Interior painting covers walls, ceilings, trim, doors, and cabinetry inside the home. Done right, it includes surface prep (cleaning, sanding, filling, caulking), masking and protection of floors and furniture, primer where needed, two coats of quality paint cut in by hand at every edge, and a complete cleanup. Done wrong, it's just paint slapped over problems.
When You Need It
Most homes get repainted every 5–10 years, with high-traffic areas (kitchens, bathrooms, hallways) needing it more often. Triggers: paint looking dull or stained, color tired, small repairs accumulated, water damage repaired, prepping to sell, or just wanting a fresh look after a renovation.
How We Price It
Square footage sets the baseline, but what actually moves an interior estimate is condition and cut-in count. Walls only in a square bedroom is straightforward. Add ceilings, trim, doors, and closets and you're adding hours of hand-cutting, not more roller work. Prep is where the surprises live — nail pops, hairline cracks, old wallpaper adhesive, gloss that has to be sanded to dull, smoke or grease that needs a sealing primer. We don't know how much of that is there until we start washing walls, and we tell you when we find it rather than quietly cutting coats to stay on number. Color direction matters too: light-to-dark or dark-to-white adds primer and sometimes a third coat. Most single rooms are 1–2 days; a whole-house repaint runs 4–10 days. Premium paint costs more per gallon and holds 2–3× longer than budget lines — we'll tell you which rooms justify it.
Why It Matters Here
Humid summers punish interior paint anywhere prep gets skipped — bathrooms and basements first, and that holds in Greenville and Spartanburg the same as it does across the line in western North Carolina. We spec the paint to the room: mildew-resistant in wet areas, washable in kitchens, scuff-resistant in hallways. Cheap paint in this climate cracks, peels, and discolors inside a year. Quality paint over honest prep gives you 8–12.
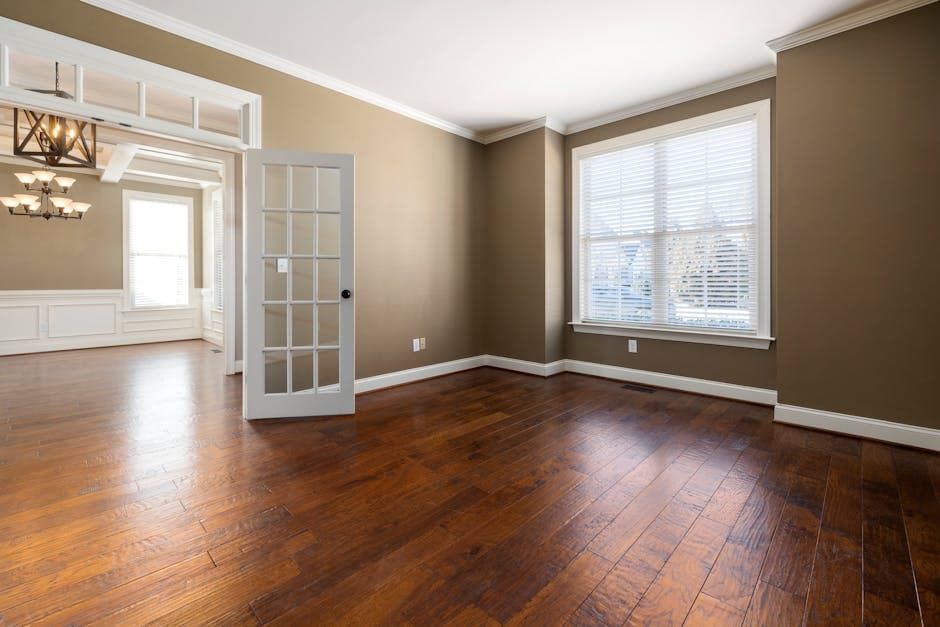
Interior Painting Gallery
Warning
Signs
Paint peeling or bubbling
Either the surface wasn't prepped (oils, dust, or moisture under the paint) or the paint type is wrong for the surface. Just painting over it makes it worse — peeling sections must be scraped, sanded, primed, and repainted.
Visible roller marks or brush strokes
Wrong roller nap for the surface, paint applied too thick, or paint dried too fast. Quality painters use the right nap (3/8" for smooth walls, 1/2" for textured), thin proper coats, and back-roll to even out finish.
Yellowing on ceilings or walls
Most common cause: cigarette smoke or kitchen grease. Sealing primer (Kilz, Bin) is required before topcoat or yellowing bleeds through. Sometimes 2–3 coats of primer are needed for heavy nicotine staining.
Color looks different in different lights
Often normal — colors shift with natural vs. artificial light. But if the variation is dramatic, it could be uneven coverage (single thin coat, or different paint batches). Two proper coats from one batch eliminate this.
Crackling or alligator-skin texture
Paint applied over incompatible primer or surface, or applied too thick. Requires complete sanding (sometimes stripping) and proper prep. Painting over it makes it more obvious.
Drips or sags on walls or trim
Sloppy application or wrong viscosity. A professional painter sands these out and recoats. Cheap painters leave them and you live with them.
Maintenance
Tips
Our
Process
Surface Prep
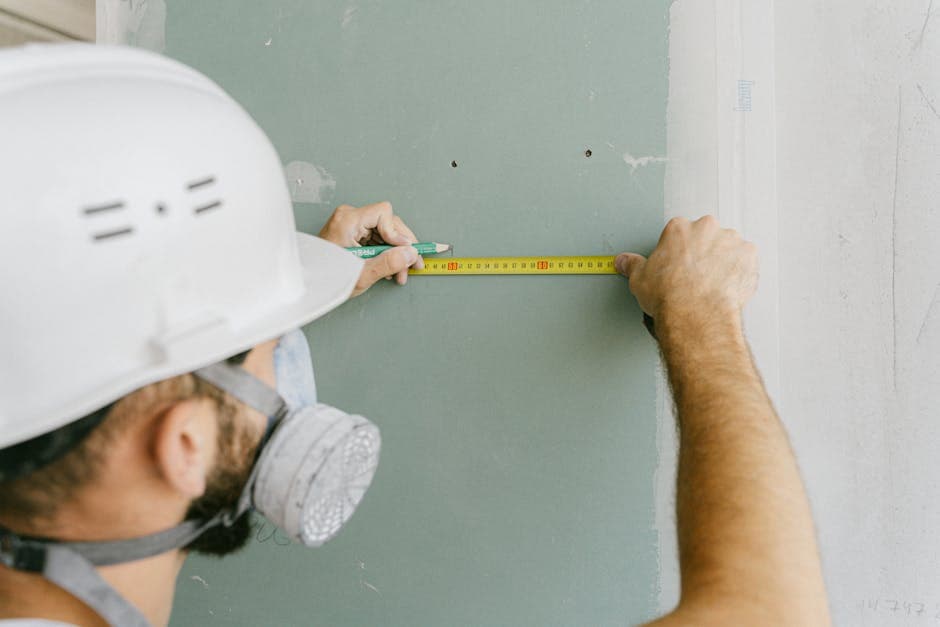
Walls washed (TSP for grease areas), holes filled with spackle, cracks bridged with mesh tape and compound, glossy surfaces sanded to dull, dust wiped off. This is where most painters cut corners — and it shows.
Mask & Protect
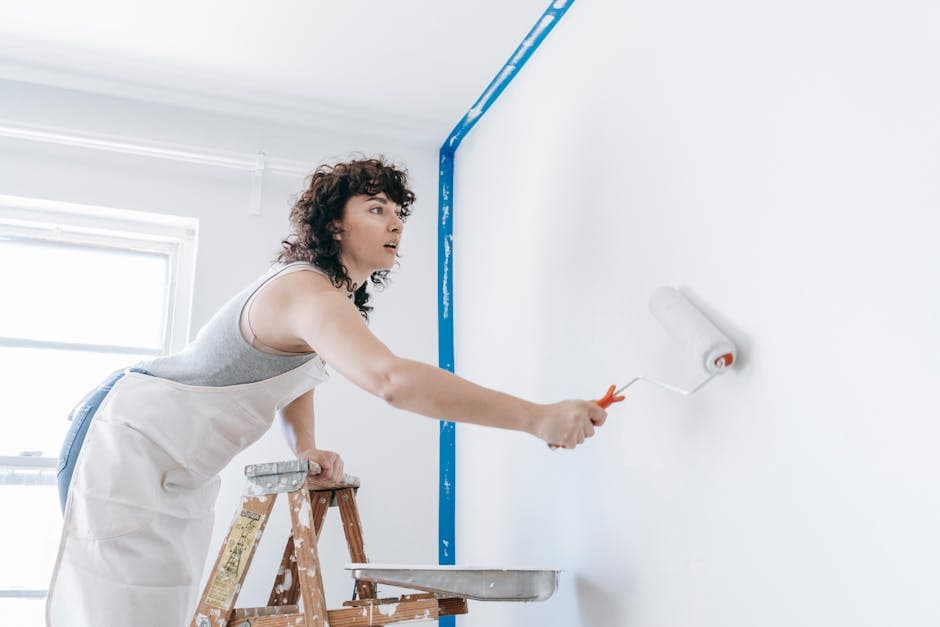
Floors covered with drop cloths or rosin paper. Trim and adjacent surfaces taped with quality painter's tape (not regular masking). Furniture moved to room center and covered. HVAC vents masked to prevent dust circulation.
Prime
Stain blocker on water marks, smoke damage, or dark walls being painted lighter. Bonding primer on glossy or slick surfaces. Skipping primer where it's needed shows through within months as bleed-through or peeling.
Cut In & Paint
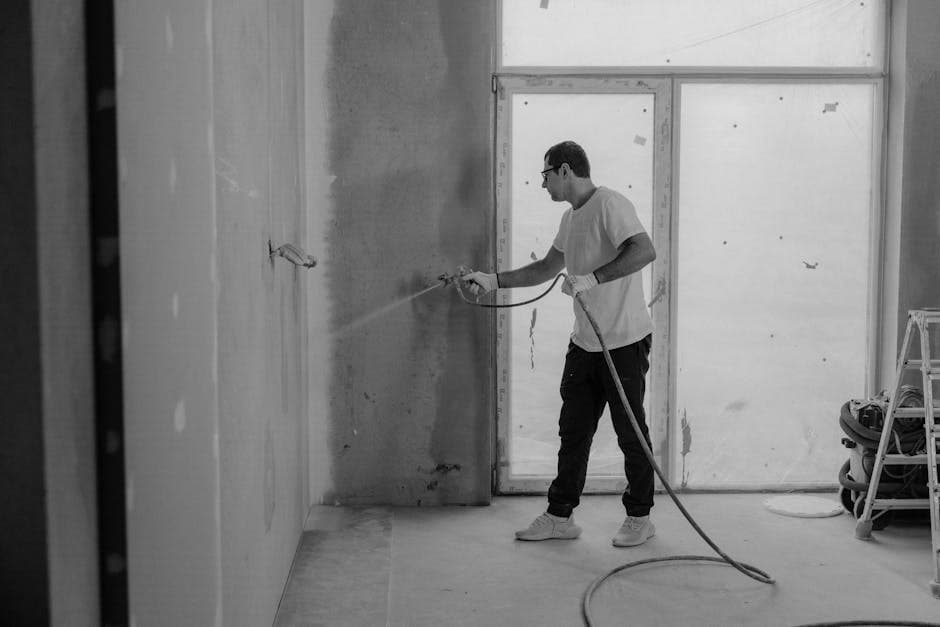
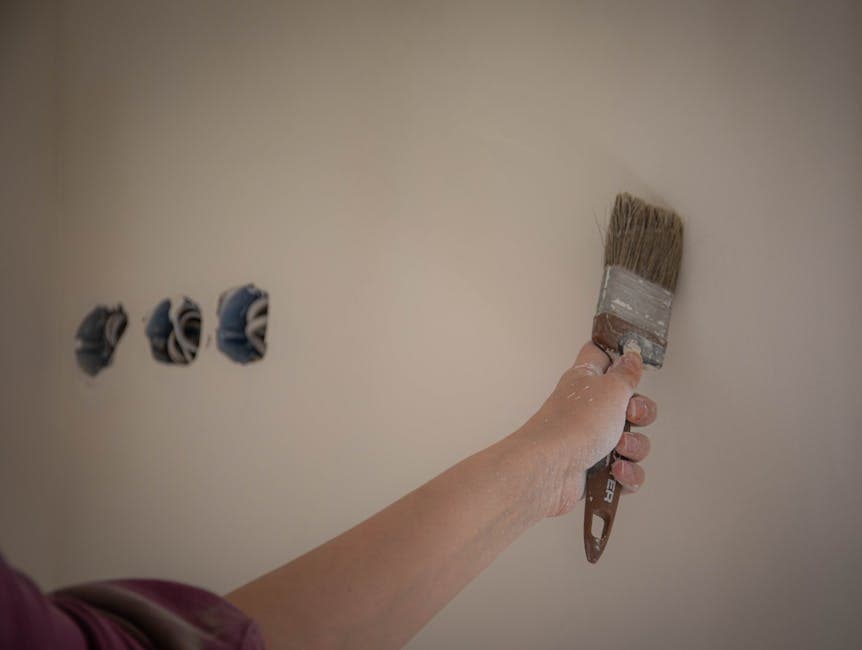
Edges around trim, ceilings, and corners are hand-cut with a brush — no taping shortcuts that leave fuzzy lines. Walls then rolled with proper-nap roller, two coats minimum, back-rolled to even out.
Final Inspection & Cleanup
Walk-through with you to identify any touch-ups needed. We don't consider the job done until you sign off. Tape pulled before paint fully cures (avoids tearing), drop cloths removed, furniture replaced, full cleanup.
What Drives the Number
Prices are estimates for Upstate SC — get a real quote for your project.
FAQ
Explore More
Get Your
Quote
Call us directly or request a quote online. No pressure, no upselling — just honest answers about your interior painting needs.
(864) 304-0139